How to Make Your Own Upholstered Bed Frame (Step-by-Step)
Creating a custom upholstered bed frame can elevate the look of your bedroom while providing a cozy touch that reflects your personal style. In this guide, I will walk you through the step-by-step process of making your own upholstered bed frame, ensuring that you have the tools and materials needed to bring your vision to life. Not only will this project allow you to showcase your creativity, but it can also save you money compared to buying a pre-made option.
I know that diving into a DIY project can feel overwhelming, but trust me, the satisfaction of completing your own upholstered bed is worth it. I’ll break down each phase of the process, providing clear instructions and helpful tips along the way. Whether you’re a seasoned crafter or a newbie, this project is manageable and fun, making it a great weekend task.
Join me as I explore the materials you’ll need, the steps to create your bed frame, and helpful advice to keep you on track. Before you know it, you’ll have a beautiful and unique bed frame that you can proudly say you made yourself!
How to Make Your Own Upholstered Bed Frame: Step by Step
Making my own upholstered bed frame was a rewarding project. Here’s how I did it, step by step.
Materials Needed
- Wood: 2x4s for the frame and headboard.
- Fabric: I chose a fabric that matched my bedroom style.
- Batting: This adds cushioning.
- Screws and nails: For assembly.
- Upholstery staple gun: Essential for securing the fabric.
Steps to Follow
- Measure Your Space: I started by measuring the size of my mattress to determine the frame dimensions.
- Cut the Wood: After cutting the wood, I assembled the base and sides using screws for stability.
- Create the Headboard: I attached wooden panels for the headboard, making sure they were tall enough for comfort.
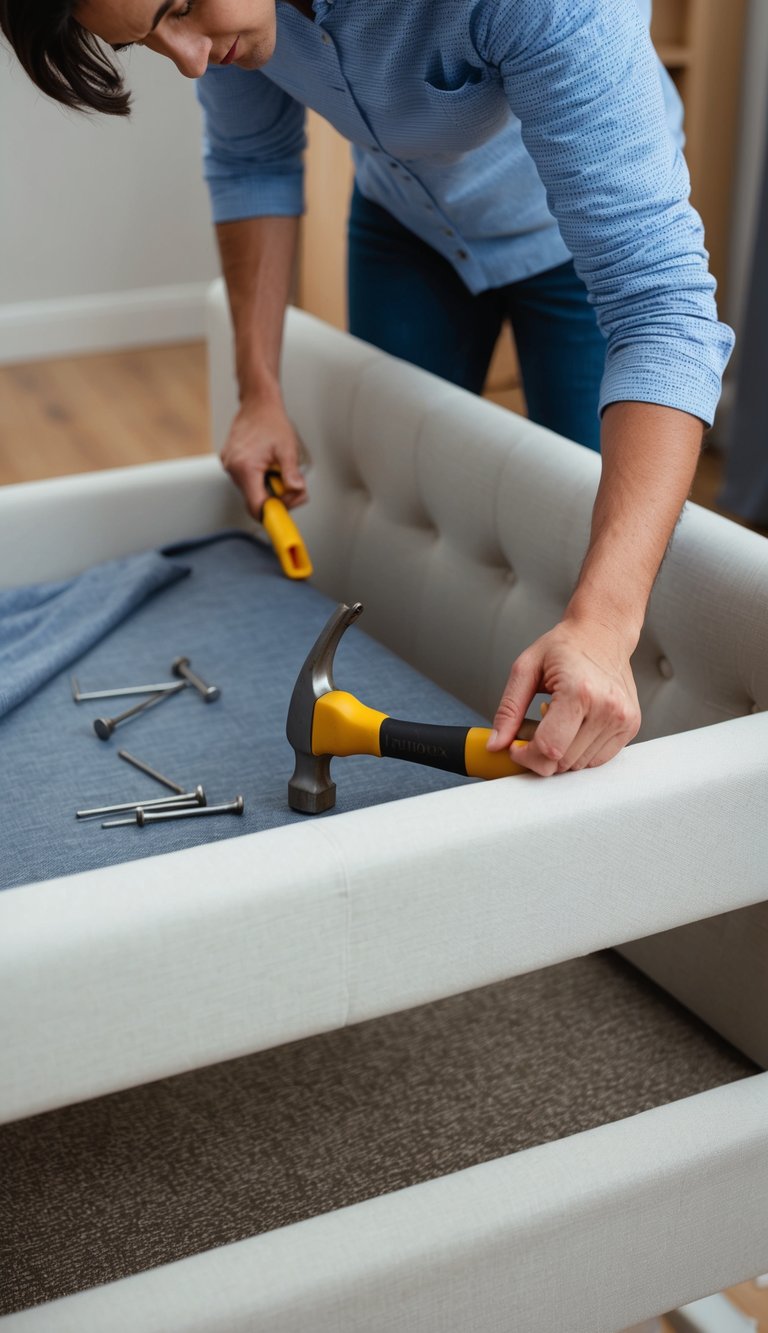
- Add Batting: I laid batting over the frame, securing it with a staple gun. This step gave it a plush look.
- Upholster the Fabric: I placed the fabric over the batting and secured it tightly with staples, ensuring there were no wrinkles.
- Finish the Frame: Finally, I attached the frame to the headboard and placed it against the wall.
This project not only saved me money but also allowed me to create a unique piece that fits my personal style. For visual guidance, you can check out this YouTube video that walks through the process.
Frequently Asked Questions
I often come across specific questions about creating an upholstered bed frame. Here are answers to some common inquiries that can help clarify the process.
How do you reupholster a bed frame with a tufted or buttoned headboard?
Reupholstering a bed frame with a tufted headboard involves a few careful steps. First, remove the existing fabric and batting. Next, cut new batting to fit the headboard and wrap it around, securing it in place with a staple gun. Finally, for tufting, I usually mark where the buttons will go before attaching the new fabric, ensuring everything is snug and evenly spaced.
What’s the estimated fabric yardage required for upholstering a bed frame?
For a standard queen-sized bed frame, I typically find that about six to eight yards of fabric is needed. The exact amount can vary based on the design and height of your frame. Using a muslin or inexpensive fabric for the base layer can help manage costs while allowing for a more decorative outer layer later.

