How to Sew Your Custom Curtains for the Bedroom (Simple Guide)
Sewing your own curtains for the bedroom can transform the space into a more personal retreat. Not only does this project allow you to choose fabrics and styles that reflect your taste, but it also saves you money compared to store-bought options. With simple techniques and a few materials, you can create custom curtains that fit your windows perfectly and enhance your room’s aesthetics.
Imagine waking up to a beautifully dressed window, where the colors and patterns coordinate with your bedding and decor. By taking on this DIY project, you can craft the exact look you’ve envisioned for your private space. It’s easier than you might think, and you’ll be proud of the finished product that showcases your creativity.
Whether you’re looking for sheer elegance or thick blackout styles, learning how to sew your custom curtains is a rewarding experience. This guide will walk you through the steps to measure, cut, and sew your curtains effortlessly, ensuring your bedroom not only looks great but feels like home.
Curtain: Basics
Before you start sewing your custom curtains, it’s essential to grasp the basics of curtain types, how to measure your windows accurately, and which fabrics will best suit your needs. Each of these aspects plays a significant role in achieving the perfect look and functionality for your bedroom.
Types of Curtains
There are several types of curtains you can choose from, and your selection will affect both aesthetics and practicality. Here are a few popular styles:
- Rod Pocket Curtains: These have a sewn pocket at the top, making them easy to slide onto a curtain rod. They create a soft, gathered look.
- Grommet Curtains: These have metal rings at the top that slide easily on the rod, providing a sleek and modern appearance.
- Pleated Curtains: Offering a tailored look, these have various pleat styles (like pinch pleats or knife pleats) that add elegance.
- Blackout Curtains: If privacy is your goal, these curtains block most light and provide insulation, ideal for bedrooms.
Understanding these options helps you choose based on your preferences and needs.
Measuring Your Windows
Accurate measurements are crucial for a perfect fit. Start by following these guidelines:
- Height Measurement: Measure from the top of the window frame to where you want the curtain to fall. Consider if you want them to brush the floor or hang above it.
- Width Measurement: Measure the width of your window and multiply by 1.5 to 3 times for a fuller look. This ensures enough fabric for gathers.
- Consider the Hardware: Don’t forget to measure any curtain rods or hardware you’ll be using, as this impacts your curtain design.
Careful measuring ensures your curtains will hang just right.
Fabric Choices
Choosing the right fabric impacts both the look and function of your curtains. Here are some popular options:
- Cotton: Lightweight, easy to wash, and available in various colors and patterns.
- Linen: Offers a natural, elegant look but wrinkles easily; great for casual spaces.
- Polyester: Durable, resistant to fading, and often less expensive; good for everyday use.
- Velvet: Provides luxury and warmth, excellent for formal rooms or insulation.
Remember to consider fabric weight and opacity based on how much light control you desire. Each fabric brings its own charm and utility to your custom curtains.
Gathering Your Sewing Essentials
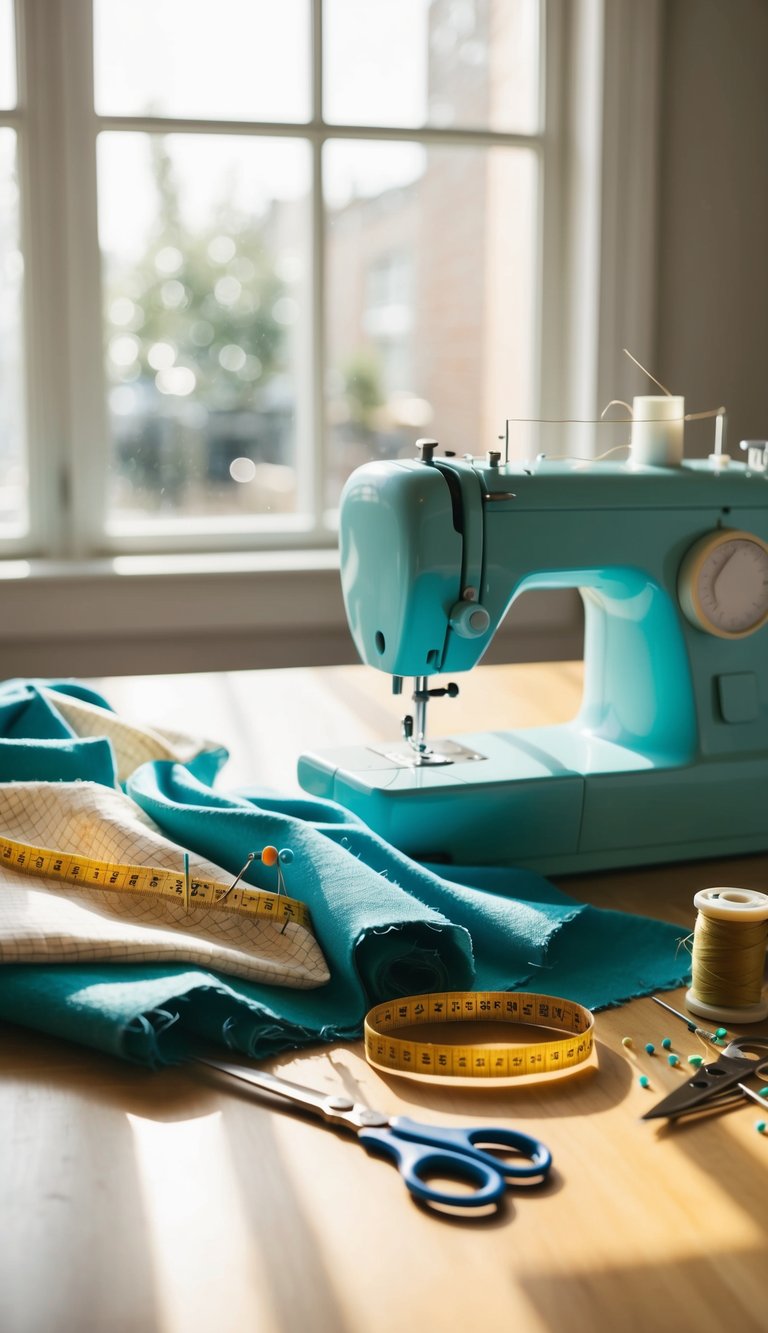
Before starting your curtain project, it’s vital to gather the right tools and materials. This section will guide you through setting up your sewing machine, selecting essential tools, and picking the right thread and needles.
Sewing Machine Setup
First, ensure your sewing machine is clean and in good working order. Check for dust accumulation and oil the machine as needed. Familiarize yourself with the machine’s manual for specific instructions related to threading and stitch settings.
Next, select the right stitch type. A straight stitch is commonly used for curtain sewing, but you might also consider a zigzag stitch for added durability.
Finally, use a suitable presser foot. A standard foot works well, but a walking foot can help manage multiple layers of fabric, especially if you’re using thicker materials or linings.
Essential Sewing Tools
Gather your essential tools to make the sewing process smooth. You will need:
- Fabric Scissors: Sharp scissors ensure clean edges.
- Measuring Tape: Accurate measurements are crucial for a perfect fit.
- Pins: Use pins to hold fabric pieces together while you sew.
- Seam Ripper: This tool is handy for correcting mistakes.
You should also have a cutting mat and rotary cutter if you’re working with large fabric pieces. A good iron is essential for pressing seams and ensuring your fabric lies flat during construction.
Selecting Thread and Needles
Choosing the right thread and needles is critical for the quality of your curtains. For most fabrics, polyester thread is a good choice as it provides strength and durability.
When it comes to needles, use a universal needle size 80/12 for lightweight fabrics. For heavier fabrics, select a larger needle to handle the thickness. Always have a few extras on hand—needle breakage can happen!
Consider thread color as well. Matching your thread to your fabric color will ensure that any stitches blend well with your finished product, creating a polished look for your custom curtains.
Designing Your Curtains
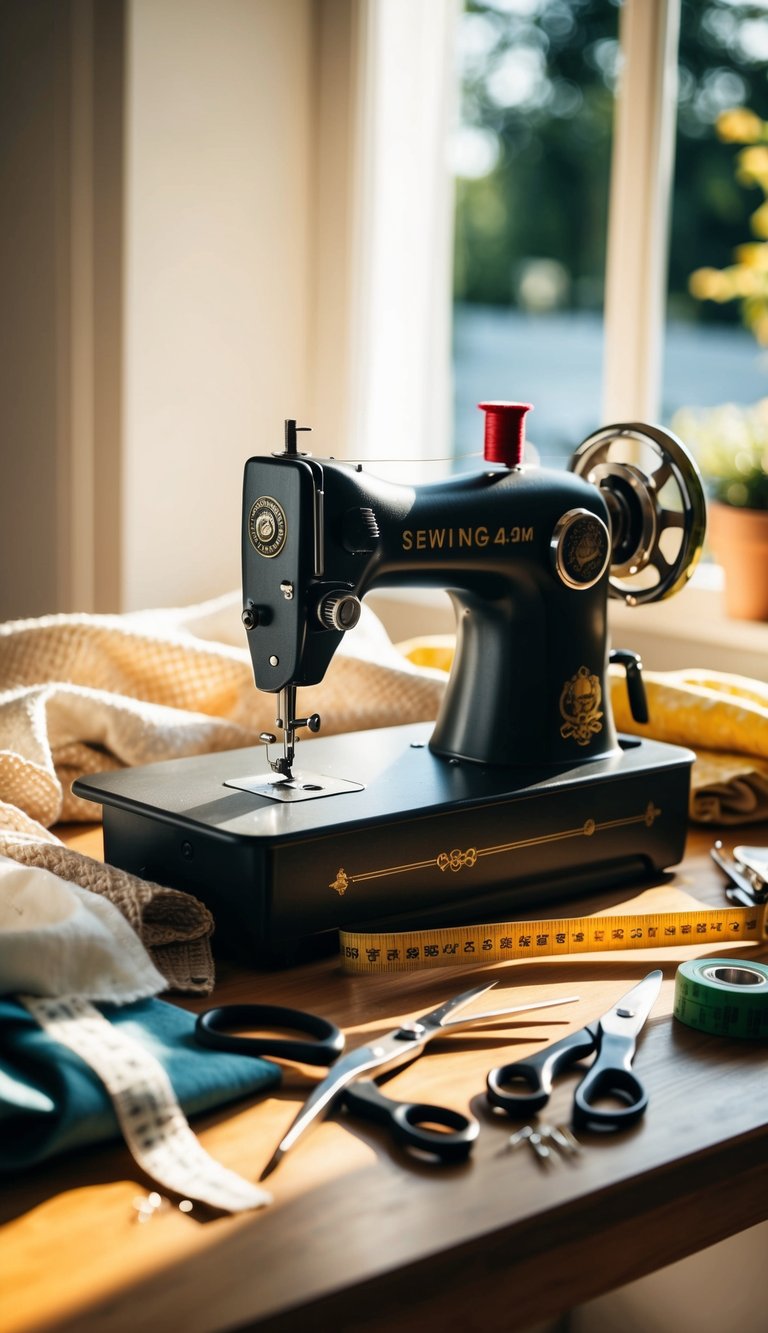
Creating custom curtains is not just about functionality; it’s also a delightful opportunity to express your style. Pay attention to patterns, dimensions, and decorative touches to achieve the look you desire.
Choosing a Pattern
Selecting the right pattern for your curtains is crucial. Consider the existing decor in your bedroom. Floral prints may enhance a romantic atmosphere, while geometric designs can offer a modern touch.
You can opt for solid colors for a minimalist look or choose a bold pattern that becomes a focal point. Swatches can help visualize how different patterns feel in the room. Think about fabric types as well; lightweight fabrics work well for airy designs, while heavier materials can lend a more dramatic effect.
Customizing Curtain Length and Width
Curtain length and width significantly impact the overall appearance of your space. Measure your windows accurately, from the curtain rod position to the desired length—either floor-length, sill-length, or puddled styles.
For width, curtains should be at least 1.5 to 2 times the width of your window for fullness. Consider whether you want them to close entirely or simply frame the window. Customizing these dimensions will help create a balanced look that enhances your bedroom’s aesthetics.
Adding Decorative Elements
Decorative elements elevate the look of your curtains. Consider adding features like tassels, beading, or trim. You can also use curtain ties or rings that complement your fabric choice.
For a unique touch, think about patterns or colors that resonate with your bedroom theme. If you enjoy crafting, customize your curtains with your own DIY embellishments. These details can transform standard curtains into bespoke pieces that reflect your personality.
Preparing the Fabric
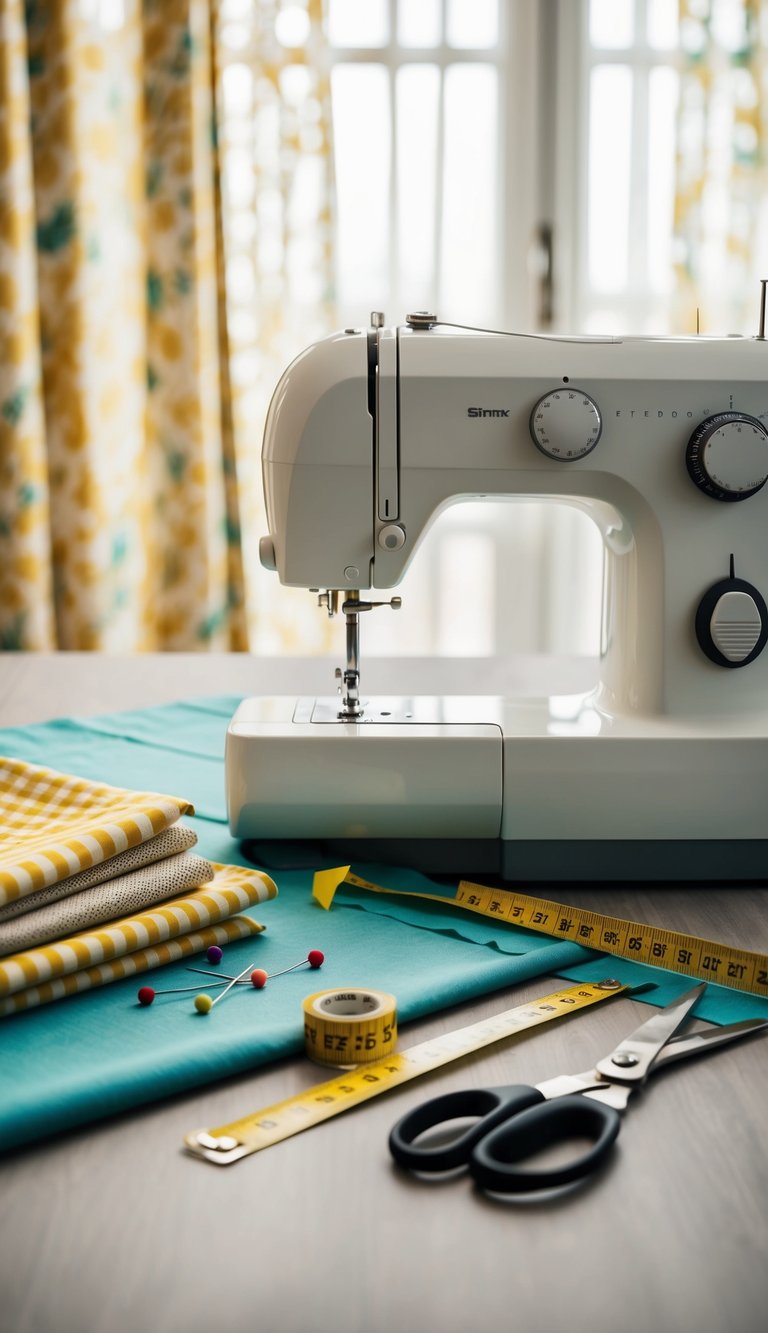
Prepping your fabric is an essential step in sewing custom curtains. This process involves washing and ironing the fabric, followed by cutting it to the appropriate size for your windows. Each step ensures a polished final product, free from issues like shrinkage or wrinkles.
Washing and Ironing
Before you start sewing, wash your fabric according to the care instructions. This step is crucial as it removes any chemicals from manufacturing and prevents future shrinkage.
- Use a gentle cycle with cold water to protect the fabric’s fibers.
- Add a mild detergent to keep your fabric clean and fresh.
After washing, dry the fabric as specified—some fabrics may be air-dried, while others can go in the dryer.
Once dry, it’s time to iron. Make sure to remove any wrinkles to ensure smooth sewing. Press the fabric with a warm iron, paying extra attention to the edges.
Cutting Fabric to Size
After ironing, lay the fabric on a flat surface. Measure your window dimensions carefully, marking the fabric with a fabric marker or chalk.
- Use a straight edge to ensure your cuts are accurate.
- Add a few inches to your desired length for hems and seams.
Cut all pieces, including lining if desired, using sharp fabric scissors. Neatly cut edges help create clean seams, enhancing the overall look of your curtains. Remember, accurate measurements and clean cuts set a solid foundation for the sewing process.
The Sewing Process
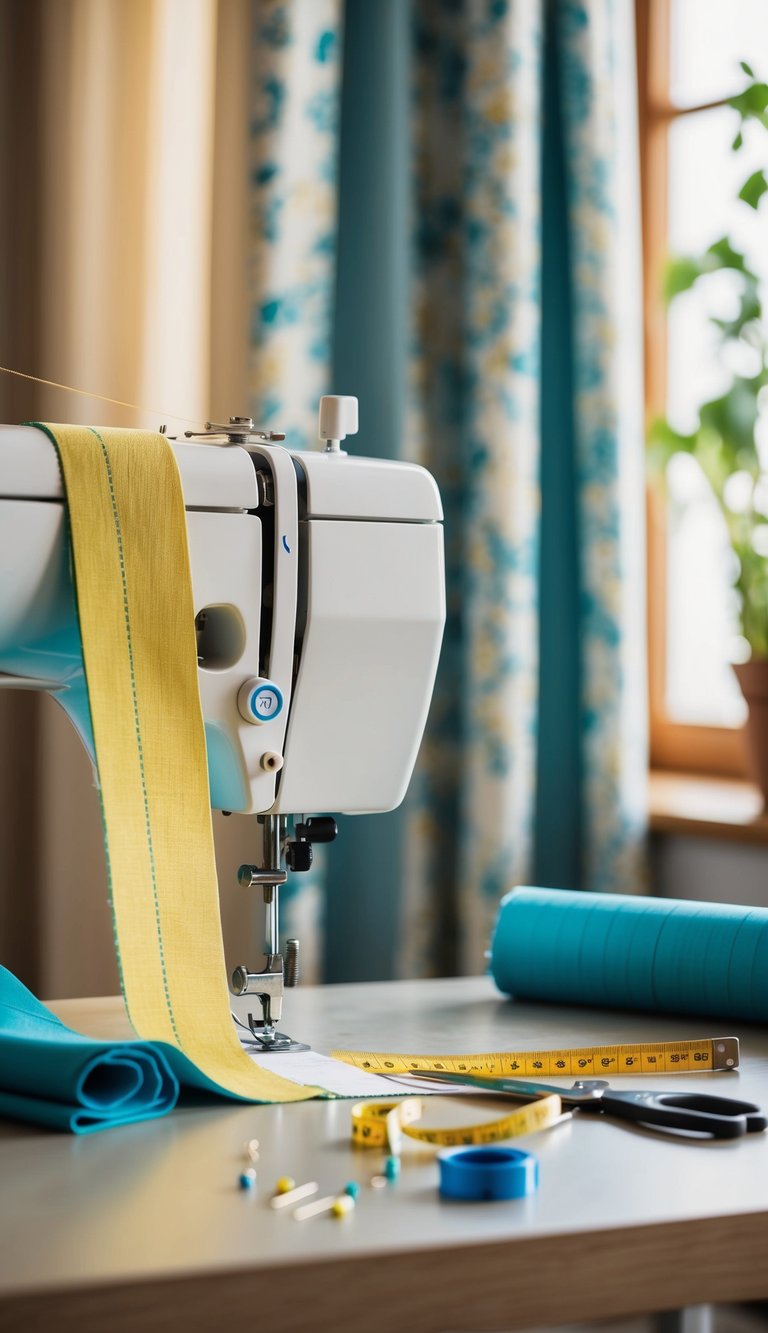
When sewing your custom curtains, the process involves several key techniques. Each step is crucial to achieve a polished and professional look for your bedroom curtains.
Stitching Seams
To start stitching seams, make sure your fabric is well-aligned. Use a straight stitch along the edges, maintaining a consistent seam allowance of about 1/4 to 1/2 inch. This ensures durability and a neat finish.
It’s helpful to pin the fabric together before sewing. This keeps everything in place and prevents slipping. Once you’ve stitched the seams, trim any excess fabric to reduce bulk and make your seams easier to press.
Press the seams open with an iron for a crisp look. This step makes a significant difference in the appearance of your finished curtains.
Creating Hems
Creating hems is an important step that adds weight and structure to your curtains. Begin by folding the edges of the fabric inward, approximately 1 to 2 inches, and pin them in place.
Using a straight stitch, sew along the hemline. For a cleaner finish, consider a double fold hem where you fold the edge twice to hide raw edges. This technique prevents fraying and enhances durability.
Always press the hem after sewing to give the fabric a smooth appearance. This also helps in ensuring that the hem lays flat when you hang your curtains.
Sewing Curtain Headers
The curtain header is essential for attaching your curtains to the rod. You can choose various styles, such as pleats, tabs, or a rod pocket.
For a simple rod pocket, fold down the top of the fabric about 3 inches and sew a straight line across. Make sure the pocket is wide enough for the curtain rod to fit through comfortably.
If you’re opting for pleats, pin pleater tape to the top edge of your fabric before sewing. This tape creates even, professional-looking pleats once gathered.
Always double-check measurements and make adjustments as needed for a perfect fit on your window.
Hanging Your Curtains
Hanging your custom curtains is an exciting final step that enhances the beauty of your bedroom. This process involves installing the curtain rods, attaching the necessary hardware, and making final adjustments to ensure everything looks just right.
Installing Curtain Rods
Start by choosing the right height and width for your curtain rod. To achieve a balanced look, mount the rod about four to six inches above the window frame. For width, extend the rod beyond the window by about six to twelve inches on each side.
Tools You’ll Need:
- Screws
- Brackets
- A level
- A drill
Using a level, mark the spots for your brackets on the wall. Ensure they are evenly aligned. Drill holes for the screws and secure the brackets in place. Once the brackets are installed, slide the curtain rod into place to check its fit.
Attaching Curtain Rings, Hooks, or Grommets
Next, it’s time to attach your curtains to the rod using the chosen hardware. If you are using curtain rings, thread them onto the rod first. Then, clip your curtains in place. For hooks, make sure they are evenly spaced along the fabric for a uniform look.
If you opted for grommets, simply slide them onto the rod. Ensure the fabric hangs freely and isn’t too tight. If you used pleater tape, attach it to the top of the curtains to gather and create soft folds.
Final Adjustments
After hanging your curtains, make some adjustments to ensure they hang perfectly. If they are too long, carefully fold the bottom hem under. You want your curtains to just graze the floor for a polished look.
For lightweight fabrics, consider adding weights to the hem. Small washers or coins can help them hang straight. Lastly, step back and admire your work, adjusting any areas that may need fine-tuning to achieve the desired look in your bedroom.
Maintenance Tips
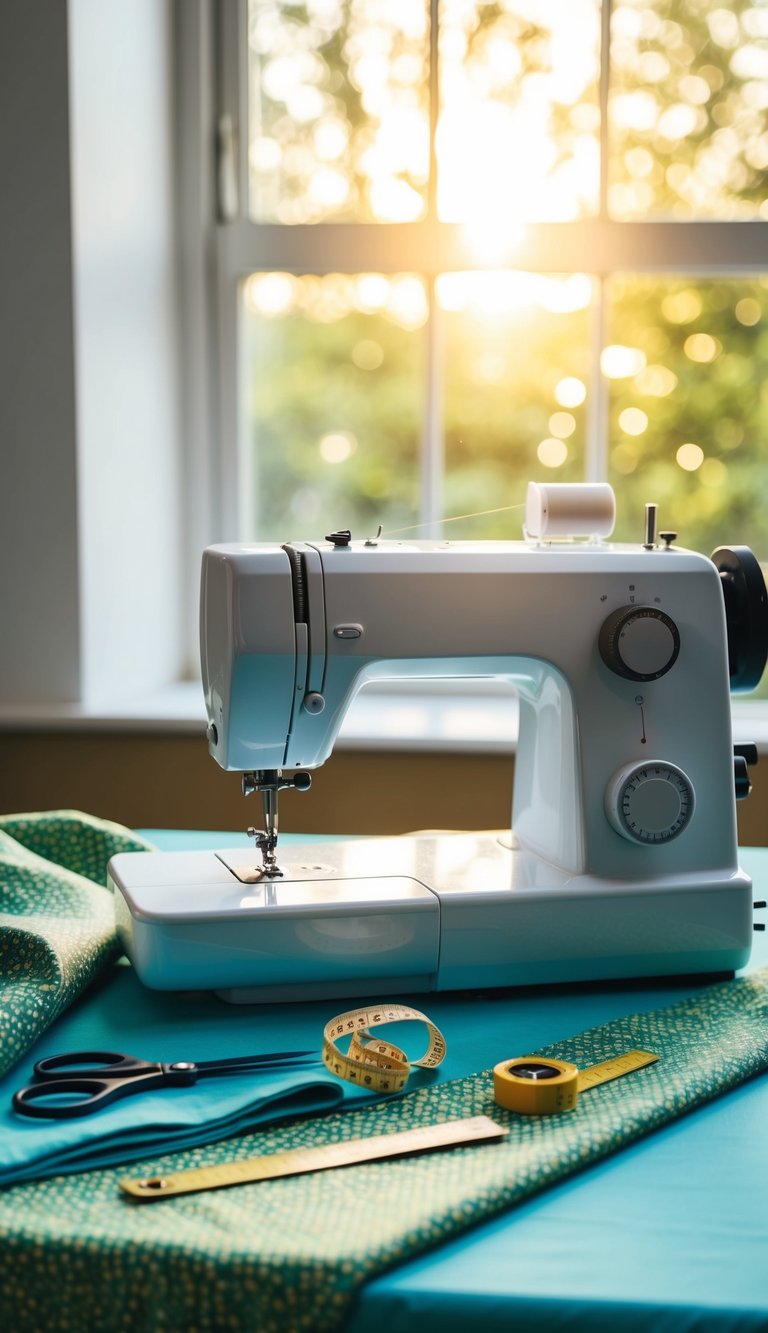
Taking care of your custom curtains is essential to preserve their beauty and functionality. Regular cleaning and minor repairs can keep them looking fresh and extend their lifespan.
Regular Cleaning
To maintain your curtains, start with regular cleaning. Dust and dirt can accumulate, so it’s best to vacuum them every few weeks using a brush attachment.
For fabric curtains, check the manufacturer’s care label. Many can be machine washed on a gentle cycle, while others may require hand washing. If you choose to wash them, use cold water and a mild detergent to avoid fading.
For delicate fabrics or those with embellishments, consider spot cleaning instead. Use a clean cloth or sponge with warm, soapy water to gently dab at stains. Avoid harsh chemicals or bleach, as they can damage the fabric.
Minor Repairs
Even with proper care, your curtains might need some minor repairs. If you notice loose threads or small tears, tackle them promptly.
For hem adjustments, simply re-stitch the hem with a sewing needle and thread that matches your fabric. If the rod pocket becomes frayed, reinforce it with a zigzag stitch to prevent further damage.
For minor stains, a fabric stain remover can be effective. Test in an inconspicuous area first to ensure it doesn’t affect the fabric color. Patchwork can also be an option for larger tears, adding style while ensuring durability.
By keeping up with regular cleaning and addressing minor repairs promptly, you’ll maintain the charm and functionality of your custom curtains.
Frequently Asked Questions
You might have some questions about creating your custom bedroom curtains. Let’s address common inquiries regarding sewing methods and materials that can help you achieve your desired look.
Can you create curtains without sewing, and if so, how?
Yes, you can create curtains without sewing! One popular method is using iron-on bonding tape. Simply cut your fabric to the desired length, fold the edges, and apply the tape. Using adhesive clips or curtain rings can also work well for a no-sew option.
How do you make lined curtains suitable for a rod pocket?
To create lined curtains for a rod pocket, start by cutting your fabric and lining to the same dimensions. Fold the top edge down several inches, and then sew a pocket to allow the curtain rod to slide through. Ensure the lining is attached securely to prevent it from hanging loosely.
What are the methods for sewing curtains with hooks?
When sewing curtains with hooks, you can use a simple straight stitch or a zigzag stitch for added strength. Start by measuring where the hooks will be placed, then sew a decorative tap or pocket on the back of your curtain fabric for the hooks to slide into.
What are some tips for using sheets to craft DIY curtains?
Using sheets to make DIY curtains is a budget-friendly option. Look for sheets that complement your room’s color scheme. Make sure to remove any tags and hems for a clean look. You can easily fold and stitch the edges or use fabric glue for a no-sew version.


